Even more Kim Dresses (By Hand London Kim Dress, duh)

Even more Kim Dresses (By Hand London Kim Dress, duh)

My bangs need to be upgraded.  Get it?  Because Cybermen
My bangs need to be upgraded. Get it? Because Cybermen

Anytime I don’t know what to do with a fabric, I immediately think of the Kim Dress. The princess seams suit prints better than darts, in my mind, at least. I’ve made this pattern a few times, and BHL dresses tend to fit me pretty well without a lot of fuss, which is great for someone without a lot of free time. Now, that said, they are tight. I like tight, if you don’t, size up. Whatever floats your boat!

Nothing says "this series really isn't for children" like a mini dress, right?
Nothing says “this series really isn’t for children” like a mini dress, right?

Both the Harry Potter fabricand the Doctor Who fabric are quilting cotton, and the Kim Dress really lends itself to such fabrics. You don’t need any stretch, and it comes together so so easily. FYI, you will never convince me there’s a better way to sew a fully lined bodice than the way Kim is done. Seriously, it’s the best. We’re talking burrito method levels of magic! That said, I opted not to line the Harry Potter version you see here, entirely because I just wanted to see how I’d like it bias finished. Spoiler: It’s not as good, just line the damn thing.

Serious question:  do you guys ever just wish I'd take the damn hair tie off my wrist??
Serious question: do you guys ever just wish I’d take the damn hair tie off my wrist??

As I said, I’ve made this pattern before, this one being one of my most complimented makes. In all honesty, I haven’t used the skirt portion of the pattern for any of these. Not because they aren’t lovely, because they certainly are. Only because I’m lazy and I didn’t want to pin and cut the pattern piece. Each of these have been made just using a rectangle of fabric. For today’s versions, the rectangle was a good deal smaller, because that’s how much fabric I had. Previously, I did large pleats. This time, I just did a few simple gathers. No biggie.

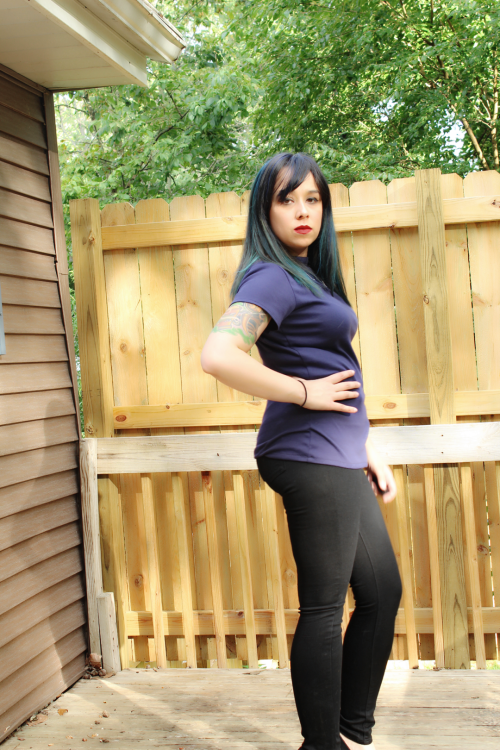
Back isn't broken, just awkward.
Back isn’t broken, just awkward.

The only alteration I made was to take off half an inch at the shoulder seams. I have short shoulders, so this is fairly common for me. Other than that…I don’t really have a lot to add, sorry. If you’re making one for the first time, you could always construct the lining as your muslin. Princess seams and side seams are super easy to adjust! As I mentioned before, the pattern doesn’t have a lot of ease, so if you’re in doubt, size up! Happy sewing 🙂

Seam Ripping Woes (Colette Rue Tester)

Seam Ripping Woes (Colette Rue Tester)

Bitch face forever.
Bitch face forever.

I was pretty stoked to be part of the testing group for the new Colette pattern, so when they sent over Rue, I immediately started thinking of fabric ideas. I really wanted to use something that showed off the curved lines on the bodice. Originally, I planned to do version 2 (with the longer sleeves) in this mammoth flannel from Robert Kaufman, but the thought of that plaid matching made my heart hurt. After browsing my fabric stash on Cora, I settled on this Cotton and Steel print.

Weird claw hand courtesy of my camera remote.

At first glance, I found the instructions for Rue to be a bit daunting, there are 46 (PDF) pages! Not to worry, though, the instructions contain detailed layouts and directions for both versions. WHEW! Rue is fully lined, so do expect to invest a little extra time for construction. Most of the bodice shaping comes from the curved front seam and some small tucks on each side. The front seam curve comes up a bit too high or too low on me, I can’t decide which. I think for the pattern it should be higher, but for my taste, lower? Either way, it needs fixing.

I promise I don't sleep standing up.
I promise I don’t sleep standing up.

I opted to cut the side front pieces on the bias, because I thought it would look cool. The pattern does NOT call for this, so if you do it, keep in mind that bias cut stuff will stretch. This was especially a problem for me, because I had trouble matching up the bodice pieces on my muslin as well, even though that was straight cut. I don’t know why, but they just wouldn’t line up for me! I imagine it’s user error, as it’s ALWAYS user error. This is version 2, the one with the longer sleeves and skirt gathers. I decided to shorten the sleeves last minute and didn’t want to print the pattern all over again. So be warned, these are not the version 1 sleeves. Other than that, I made no alterations. That is, unless you’re thinking of that fucking GIANT weird pleat pucker thing near the neckline. That beauty is courtesy of seam ripper accident. Don’t rush your sewing, folks, just don’t.

I'm still pissed at my seam ripper.
I’m still pissed at my seam ripper.

All and all, Rue came together a lot more quickly than I’d expected, seam ripper destruction and all. This is exactly the kind of thing I’ve been meaning to make for office wear, cute yet still professional. Maybe I can work up the courage to suffer through plaid matching for a longer sleeved version? I’ll have to consult some vodka about it, but it just might happen! Happy sewing 🙂

A Knit Success (Jennifer Lauren Handmade Gable Top)

A Knit Success (Jennifer Lauren Handmade Gable Top)

Hiding my gut with my man hands.

It’s been awhile since I’ve posted, I know. I’ve been working on a swimsuit, but I’m having some fit issues. I’ve also run out of summer, so you’ll not being seeing that suit until next year. In the meantime, I’ve had an actual success with a knit fabric, which is unheard of. The pattern is the Gable Top from Jennifer Lauren Handmade, which she so graciously provided to me for reviewing. So yes, the pattern was free, but my opinions are still my own.

Not preggo, just standing weird in high waisted jeans. Also, I like snacks.

There are two things I love in a PDF pattern: a nested pattern (patterns that allow you to print only certain sizes) and a very organized PDF file. Jennifer’s is the later. The Gable Top comes with three sleeve options, and in the instructions, she tells you which pages to print for each. No need to print the whole pattern just for the short sleeves. My cutting area is pretty small, so it also helps that I can assemble sections at a time (bodice front, back, sleeves), instead of the entire garment.

Still hate back photos.

The instructions are really straight forward, this would be a great beginner pattern! There’s plenty of information about choosing the right knit fabric, and explanations of the sewing terms. As you know, I fucking hate knits, and I never ever seem to use the right one. Based on her descriptions, I was able to dig DEEP in the stash and pull out this fabric, which turned out to be perfect! I actually used this fabric for this tank, which was old even then. Yay for stash busting!

Canine photo bomber, judging me.

Assembly went by crazy quickly. I mean wow. I cut a size 12, based on my measurements (37/29/40), and liked the fit. This top has negative ease, so it’s really fitted. If that’s not for you, size up. Originally I’d planned to do the cuffed sleeves, but didn’t have enough fabric, so short sleeves it was. Now, before I’d even started sewing, I knew I was going to insert the sleeves flat, meaning I would sew the sleeves together at the same time as the bodice. If that makes sense. I was very pleasantly surprised to see that’s exactly what the instructions called for! Bravo, Jennifer.

Realized I can turn my camera to the side, using my tripod, was a revelation.

I did most of the construction with my serger, with the exception of hems and finishing the neckline. You don’t have to do that, it’s just my preference. For the sleeves, I just serged the edges and stitched them down with a straight stitch. For the waist, I wanted a little stretch, but I hate a zig zag stitch. I ended up doing a very shallow (I don’t know the correct term here) zig zag stitch, with a stitch height of about 1.5. On the neckline, you just fold it down and stitch. There’s a bit of play there, so try it on and see what you like. As per the pattern, I added a bit of ribbon on the shoulder seems to give it a bit of stability, that’s topstitched down. That’s all there was to it! Easy peasy. I actually wore this out, and no one believed it was handmade, so that’s a win. I can’t believe I’m going to say this, but…I actually plan to make this KNIT top again. Shocking, I know.